Foam Rolling for Everyday Aches and Tight Muscles
Waking up with nagging lower back pain or rubbing sore shoulders several times a week can be frustrating. And it is very common. According to the Centers for Disease Control and Prevention (CDC), about 50 million Americans live with some type of chronic pain. Being far from alone may be reassuring, but it does not make the discomfort easier to manage.
A simple foam roller may offer some relief without costing much or taking a lot of time. These long, firm cylinders often seen in gyms are commonly used by physical therapists to help ease tension and reduce everyday aches.
Why Tightness and Pain Can Build Up
Foam rolling is often called self-myofascial release. It helps improve muscle flexibility in the upper layers of tissue, especially the fascia, which sits over the muscles and connects different muscle groups.
Fitness experts say this fascia can develop tight trigger points. Using a foam roller may help release those areas and reduce soft tissue adhesions. When foam rolling is paired with stretching, it can help loosen restricted tissue, improve movement, and support pain relief.
Foam rolling may also improve range of motion by decreasing tightness in the muscles around your joints. Many trainers suggest using it:
- Before exercise to wake up the muscles
- After workouts to help reduce soreness
Muscle imbalance can also play a role in discomfort. For example, when the quads are tight, they may do too much work while the hamstrings stay less active. That kind of imbalance can contribute to knee pain, which is why foam rolling can be helpful for better overall muscle function.
13 Foam Roller Exercises to Try
Lower Body
1. Hip Flexors
- Lie face down with your weight on your forearms.
- Place the foam roller under your upper thighs, similar to a forearm plank position.
- Roll toward your feet until the roller reaches your hip joints.
- Slowly move back and forth, using your forearms and toes to guide the motion.
- You can also do one leg at a time by moving one leg out to the side of the roller.
2. IT Band
- Lie on your left side with the roller under your hip.
- Support your weight with your forearm and the roller.
- Keep your ankles together and your toes pointing forward.
- Slowly roll up and down over the IT band, using your forearm to control the movement.
- Repeat on the right leg.
Because the IT band is fibrous tissue rather than a muscle, it is often very tight. During your 30 seconds of rolling, pause and breathe when you find tighter spots.
3. Glutes
- Sit on the foam roller with your hands behind you.
- Cross one ankle over the opposite knee in a figure-four position.
- Lean slightly toward the side you want to target.
- Roll back and forth, using the foot on the floor to control the movement.
- Shift your body slightly side to side to work more of the glute muscles.
This area is small, so move carefully to avoid slipping off the roller.
4. Quads / Thighs
- Start in a forearm plank with the roller under your upper thigh.
- Roll toward your feet until the roller reaches your hip joints.
- Slowly move back and forth from the hips to the knees.
- You can also work one side at a time by moving one leg to the side of the roller.
5. Adductors
- Lie face down with your weight on your forearms and both legs extended.
- Place the roller parallel to one leg.
- Bend the knee closest to the roller and lift that leg over it so your inner thigh rests on top.
- Roll slightly toward your back so the inner thigh stays in good contact with the roller.
- Slowly move side to side, using your body to control the motion.
- Repeat on the other leg.
6. Abductors
- Lie on your left side with the foam roller under your hip.
- Rest your weight on your forearm and the roller.
- Bend your left knee and keep your right knee straight.
- Slowly roll up and down.
- Angle your body slightly side to side to reach the whole muscle.
- Repeat on the right side.
7. Calves
- Sit with your legs extended and the roller under your calves.
- Cross one leg over the other.
- Lift your buttocks off the floor.
- Roll up and down along the calf using your arms and body for control.
- Tilt your body side to side to target the whole calf.
- Repeat on the other leg.
8. Hamstrings
- Sit on the foam roller with your hands behind you.
- Place the roller under your hamstrings, just below your glutes.
- Keep your left knee bent out to the side of the roller.
- Roll from below your glutes to the back of your knee.
- Use your hands and opposite leg to guide the movement.
- Repeat on the other side.
Upper Body
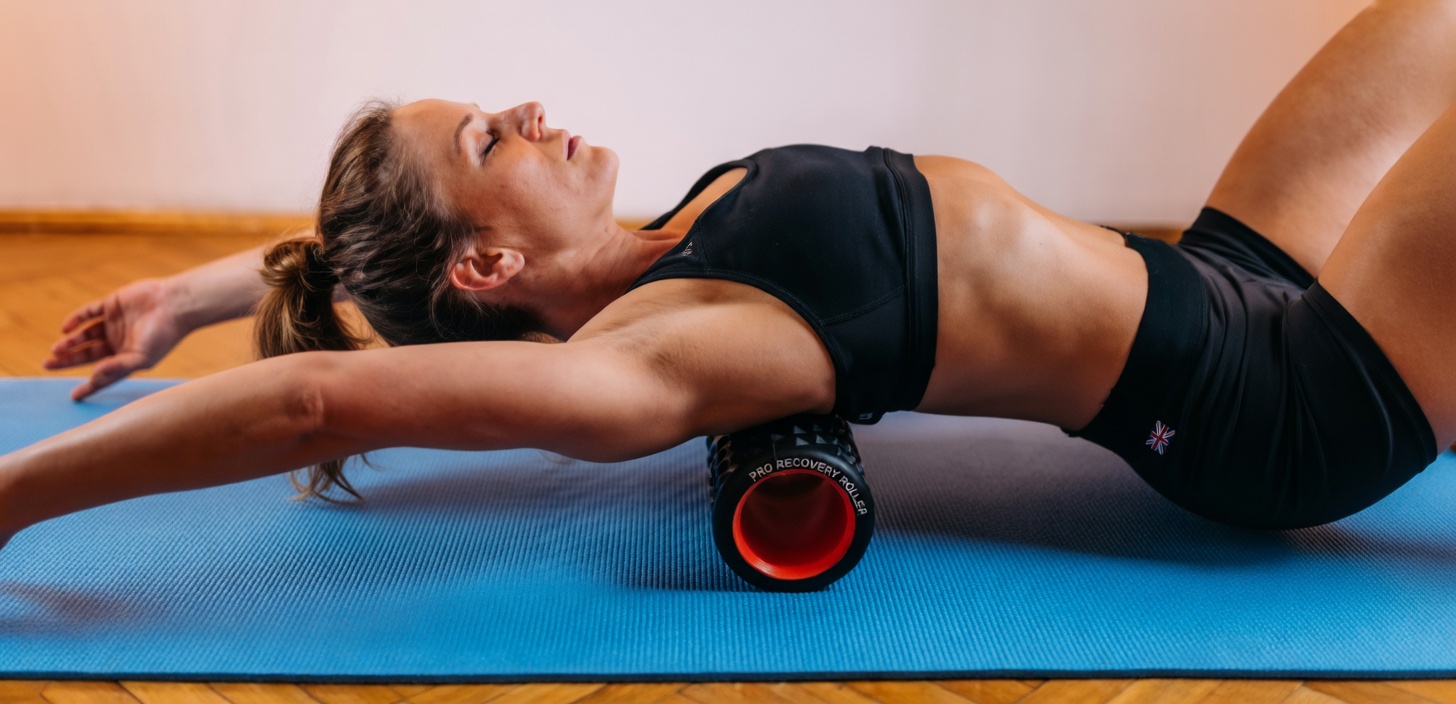
9. Thoracic Spine
- Lie on the foam roller so your head, upper back, and lower back are parallel to it.
- Bend your knees and rest your arms comfortably at your sides.
- Gently roll to one side, staying between your spine and shoulder blades.
- Move side to side in that area.
- Repeat on the other side.
10. Upper Back
- Lie on the floor with the foam roller under your upper back and your knees bent.
- Place your hands behind your head to support your head and neck.
- Gently roll up and down from your belly button to your shoulder blades.
- Angle your body side to side to reach the muscles across your back.
11. Lats
- Lie on your right side with the foam roller under your armpit.
- Extend your right arm so your forearm and elbow touch the floor.
- Cross your right leg over your left and keep your foot flat.
- Roll up and down from your armpit to the top of your ribs.
- Shift your body slightly side to side to work the full muscle.
- Repeat on the left side.
12. Shoulders
- Lie on your right side with your shoulder directly on the roller.
- Clasp both hands in front of you.
- Cross your right leg over your left and keep your foot flat on the floor.
- Roll up and down while keeping your shoulder in contact with the foam.
- Angle your body forward and backward to reach the front and back of the shoulder.
- Repeat on the left side.
13. Arms
- Lie face down with the roller under the armpit of your right arm.
- Extend your arm out over the roller with your thumb pointing toward the ceiling.
- Roll up and down, focusing on the area between the shoulder and elbow.
- Repeat the movement with your palm down and with your palm up to work the front, back, and side of the arm.
- Repeat on the left side.
How to Use Foam Rolling Effectively
How Long Should You Foam Roll?
Foam rolling can be done every day for 10 to 20 minutes.
A common approach is:
- Do slow, short rolls for 30 seconds over tense areas
- Then do slower, longer rolls across the full length of the muscle
Tense spots may feel:
- Gritty
- Lumpy
- Thick
- Fibrous
You can do up to three sets of 30 seconds each, with 10 seconds of rest between sets.
When Should You Foam Roll?
Foam rolling can be useful at different times of day and around exercise:
- Before a workout as a warm-up in place of stretching
- After exercise to help with soreness and muscle fatigue
- After long periods of sitting or stress to reduce tightness and muscle tension
Safety Tips: Can Foam Rolling Be Harmful?
Foam rolling is generally considered a safe and effective practice, but there are a few important cautions.
- Avoid rolling over injured areas, because overstressing inflamed muscle tissue may lead to more injury, more pain, and reduced range of motion.
- Avoid foam rolling the lower back.
Consult a healthcare professional before making changes.