Korean Rice-Based Skincare Remedies for Hydrated, Glowing Skin
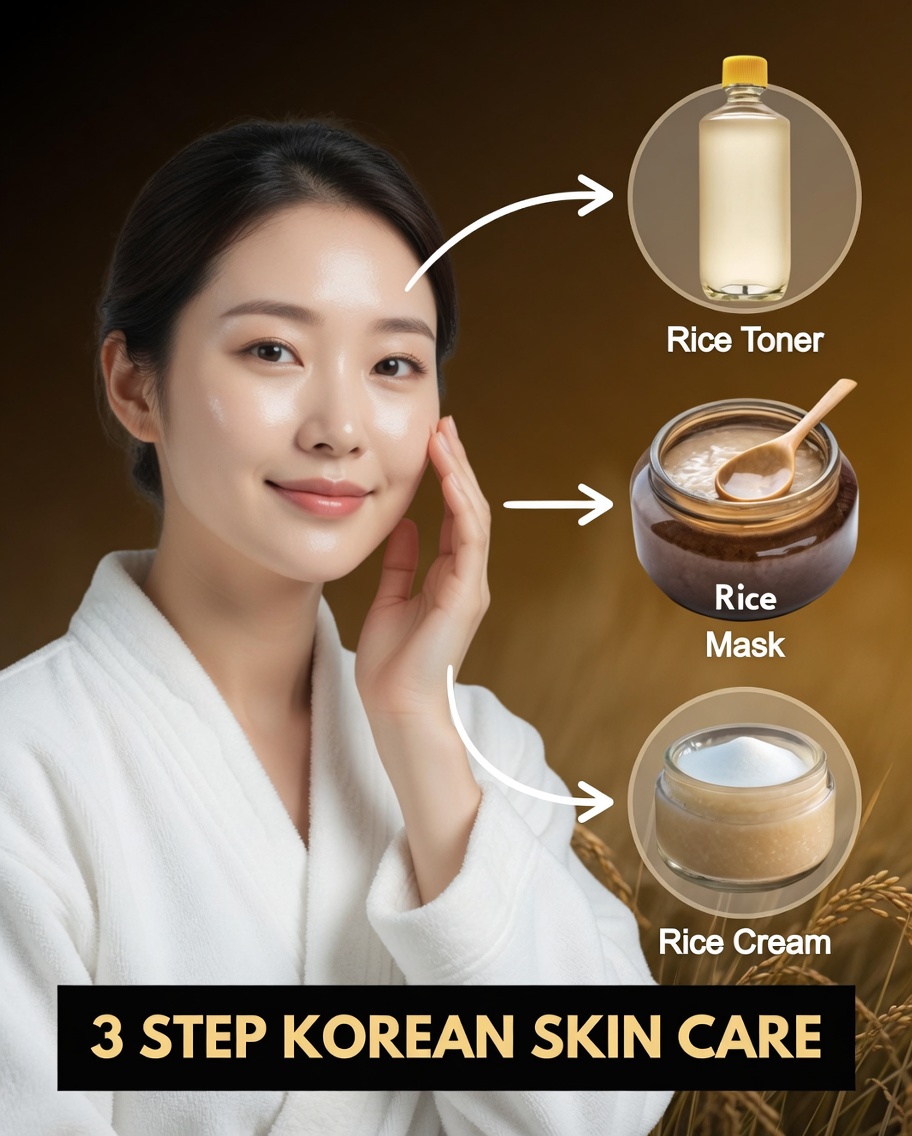
Rice has long been used in Korean-inspired beauty routines for its skin-conditioning properties. If you want brighter-looking, smoother skin without spending on pricey products, these three simple DIY rice skincare remedies can help support hydration, reduce the look of pores, and boost a natural glow:
- Rice Toner: Lightweight hydration that helps minimize the appearance of open pores and balance excess oil
- Rice Mask: A replenishing treatment that can help improve the look of dark spots and pigmentation
- Rice Cream: A richer moisturizer that supports skin elasticity and offers added protection against sun-related dullness
Step 1: DIY Rice Toner (Rice Water Toner)
What you need
- 3 tablespoons of rice (any type works; white rice is commonly used)
- 1 cup of water
- 1 teaspoon glycerin (optional, for extra moisture)
- A clean spray bottle
- Strainer
How to make it
- Measure 3 tablespoons of rice.
- Rinse the rice once or twice to remove dust and impurities.
- Add 1 cup of water, then let the rice soak overnight.
- In the morning, you’ll notice the water looks cloudy—this is a sign it has absorbed rice nutrients.
- Strain the rice water into a clean container.
- Stir in 1 teaspoon of glycerin for deeper hydration.
- Pour the toner into a clean spray bottle.
Benefits of rice toner
- Helps deeply hydrate skin
- Enhances a natural glow
- Supports a smoother look by minimizing visible pores
- Helps control excess oil and improve skin balance
How to use
- Apply twice daily: morning and night.
- Many people notice better hydration and radiance within 7–10 days.
- For more visible results, use consistently for one month.
Storage
- Keep it refrigerated.
- Use within 7 days, then make a fresh batch.
Step 2: DIY Rice Face Mask (Using the Leftover Rice)
Instead of wasting the soaked rice from the toner, reuse it to create a nourishing face mask.
How to make it
- Take the leftover rice and add 1 cup of water (you can also use leftover toner/rice water).
- Cook on low heat for 60–70 minutes until the rice becomes very soft.
- Do not drain the water; allow it to reduce and dry in the pot naturally.
- Let the cooked rice cool completely.
- Blend into a smooth, creamy paste.
- Spoon the paste into a bowl.
- For one application, mix:
- 2 tablespoons rice paste
- ½ tablespoon raw honey (known for soothing, anti-inflammatory and antibacterial properties)
- Stir until you get an even, spreadable mask.
Benefits of the rice mask
- Provides deep nourishment
- Helps reduce the appearance of dark spots and uneven tone
- Leaves skin looking brighter and more radiant
How to apply
- Apply an even layer to your face.
- Leave on for 15–20 minutes.
- Once it dries, rinse with lukewarm or room-temperature water.
How often to use
- Oily skin: 2–3 times per week
- Dry skin: 3–4 times per week
- Sensitive skin: 1–2 times per week
Step 3: DIY Rice Cream (Nourishing Moisturizer)
Use the remaining blended rice mixture from the mask step to make a creamy, moisturizing rice-based face cream.
How to make it
- Strain the blended rice through a cotton cloth to remove any grains or lumps.
- Collect the smooth extract in a bowl.
- Add the following:
- ½ tablespoon aloe vera gel (soothing and deeply conditioning)
- 1½ tablespoons milk (softens and hydrates)
- 1 tablespoon coconut oil (deep nourishment)
- 1 tablespoon olive oil (supports elasticity and offers extra protection from environmental stress)
- Mix thoroughly until the texture becomes creamy and uniform.
Benefits of rice cream
- Helps deeply moisturize and nourish
- Supports firmer-looking, more elastic skin
- Adds a protective layer that can help reduce the look of sun-related dryness and dullness
Storage
- Keep in an airtight container in the refrigerator.
- Use within one week.
How to apply
- Apply a thin layer to a clean face.
- Leave it on for 15–20 minutes.
- Remove gently using a cotton pad soaked in the rice toner.
- For best results, use at night.
How often to use
- Oily skin: 2–3 times per week
- Dry skin: 3–4 times per week