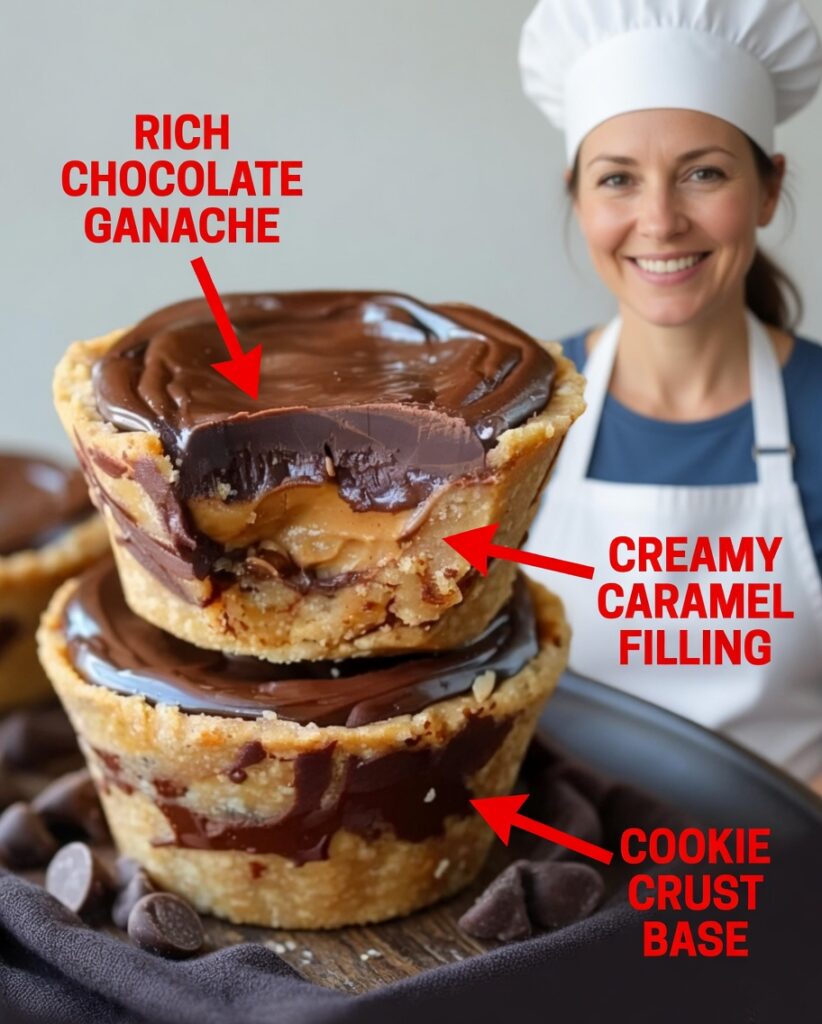
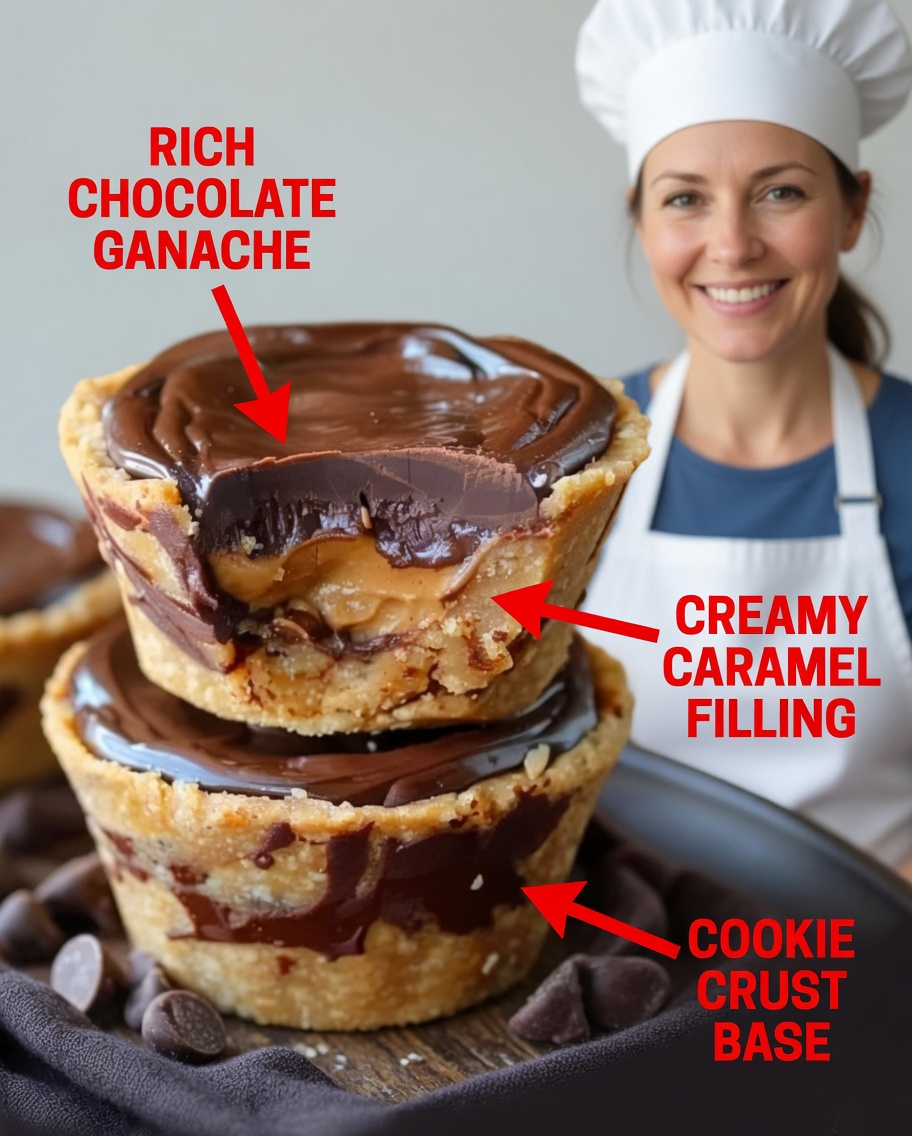
Peanut Butter Rice Krispies Treats (Vegan Chocolate Topping)
These no-bake peanut butter Rice Krispies treats are crunchy, sweet, and finished with a smooth layer of vegan chocolate. They’re quick to assemble, easy to store, and perfect for snacks, parties, or meal-prep desserts.
Ingredients
- 1 cup crunchy peanut butter (extra chunky works best)
- 6 tablespoons honey (for natural sweetness)
- 1/8 teaspoon salt (a small pinch to boost flavor)
- 3 cups Rice Krispies cereal (for that classic crisp texture)
- 1 1/2 cups vegan chocolate chips (for a rich chocolate topping)
Preparation
- Prep the pan: Line a muffin tin with paper liners, then lightly spray the liners with non-stick spray so the treats release easily.
- Melt the base: In a saucepan over low heat, warm the peanut butter, honey, and salt, stirring often until fully melted and smooth.
- Coat the cereal: Remove from heat. Add the Rice Krispies and stir until every piece is evenly coated in the peanut butter mixture.
- Portion and press: Spoon the mixture into the prepared muffin liners. Press down firmly to help the cups hold together and set cleanly.
- Melt the chocolate: In a separate saucepan over low heat, melt the vegan chocolate chips, stirring constantly until glossy and smooth (avoid overheating).
- Top each cup: Spoon melted chocolate over the pressed cereal mixture, spreading evenly. Add swirls or simple patterns if you like.
- Chill to set: Refrigerate the muffin tin until the treats are firm.
- Serve: Remove from the fridge, peel off the liners, and enjoy. Share—or keep them all for yourself.
Variations and Helpful Tips
- Add mix-ins: Stir in mini marshmallows, chopped nuts, or dried fruit for extra texture.
- Swap the nut butter: Almond butter or cashew butter can replace peanut butter for a different flavor profile.
- Boost the chocolate flavor: Mix a little vanilla extract or a pinch of cinnamon into the melted chocolate.
- Change the shape: Instead of using a muffin tin, press the mixture into a greased baking dish and slice into bars or squares once set.
Storage Instructions
- Let them set completely: Store only after the treats are fully firm to prevent sogginess.
- Use an airtight container: Layer with parchment paper to stop sticking.
- Room temperature: Keeps well for up to 1 week.
- Refrigerator: Stays fresh for up to 2 weeks.
- Freezer-friendly: Wrap each treat individually, then place in a freezer-safe bag or container for up to 3 months. Thaw at room temperature before eating.